contact us

Use the form on the right to contact us.

You can edit the text in this area, and change where the contact form on the right submits to, by entering edit mode using the modes on the bottom right.

994 Hawthorne Ct
San Marcos, CA, 92078
United States

760-809-4895

Blog

For the Love of Giving

Amorology

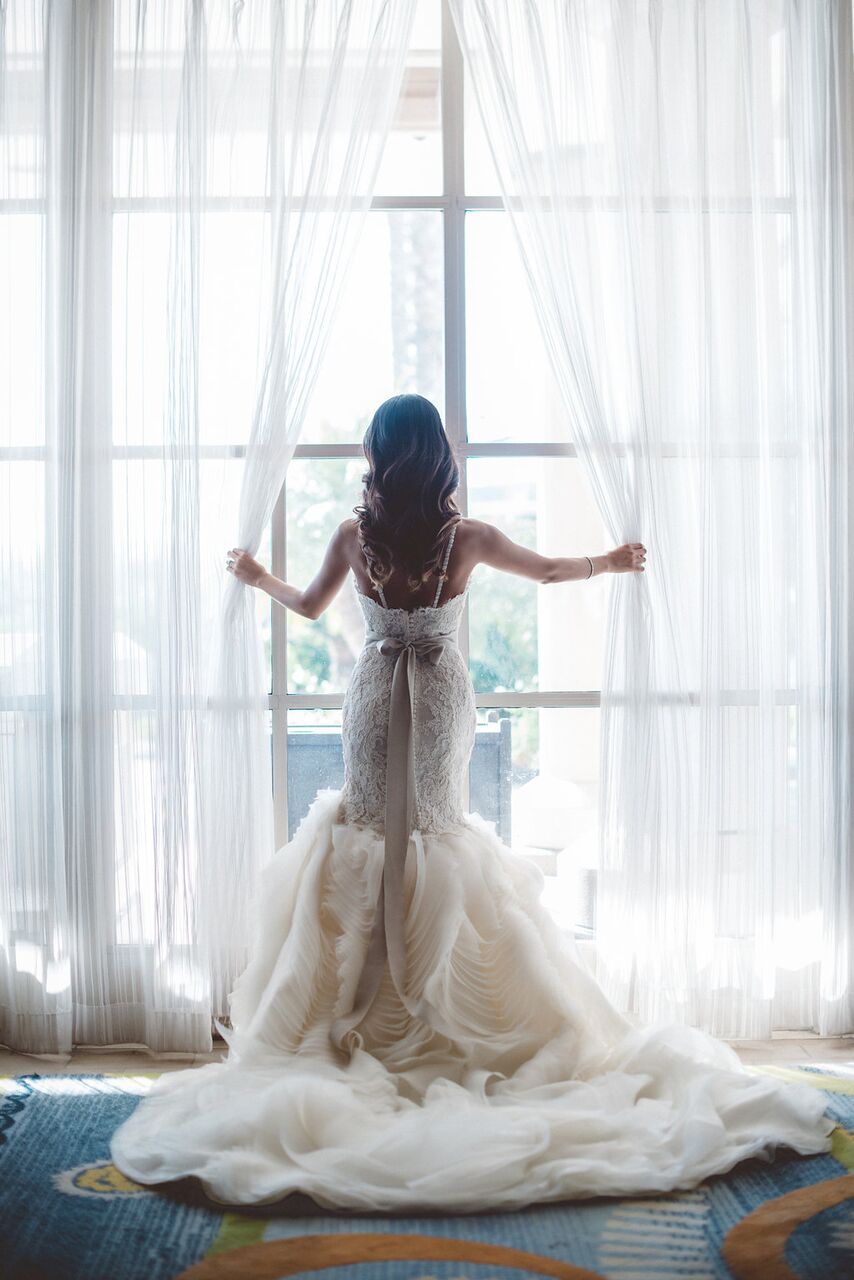
Marriage is a beautiful thing and one of the greatest joys of life, and as such we love to come up with ways to make your big day extra special and meaningful! For us, this usually means bringing in the fine and fun details of your relationship and weaving them into the design of your wedding, but another of our favorite ways to bring special meaning to the day is by using the event as a means to give back and be charitable. There are so many ways to seamlessly incorporate giving back into your wedding, and today we're sharing a few of our favorite options!

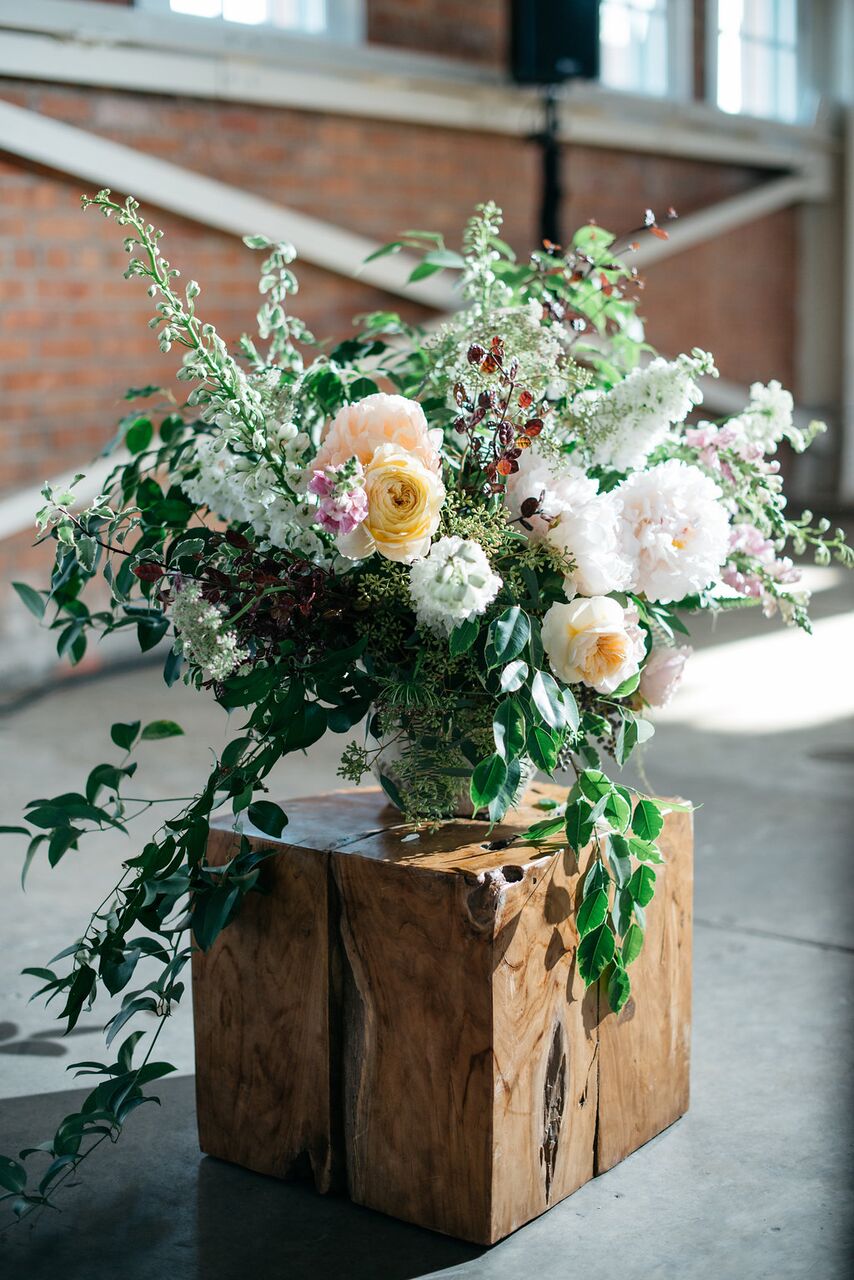
Sustainable decorations
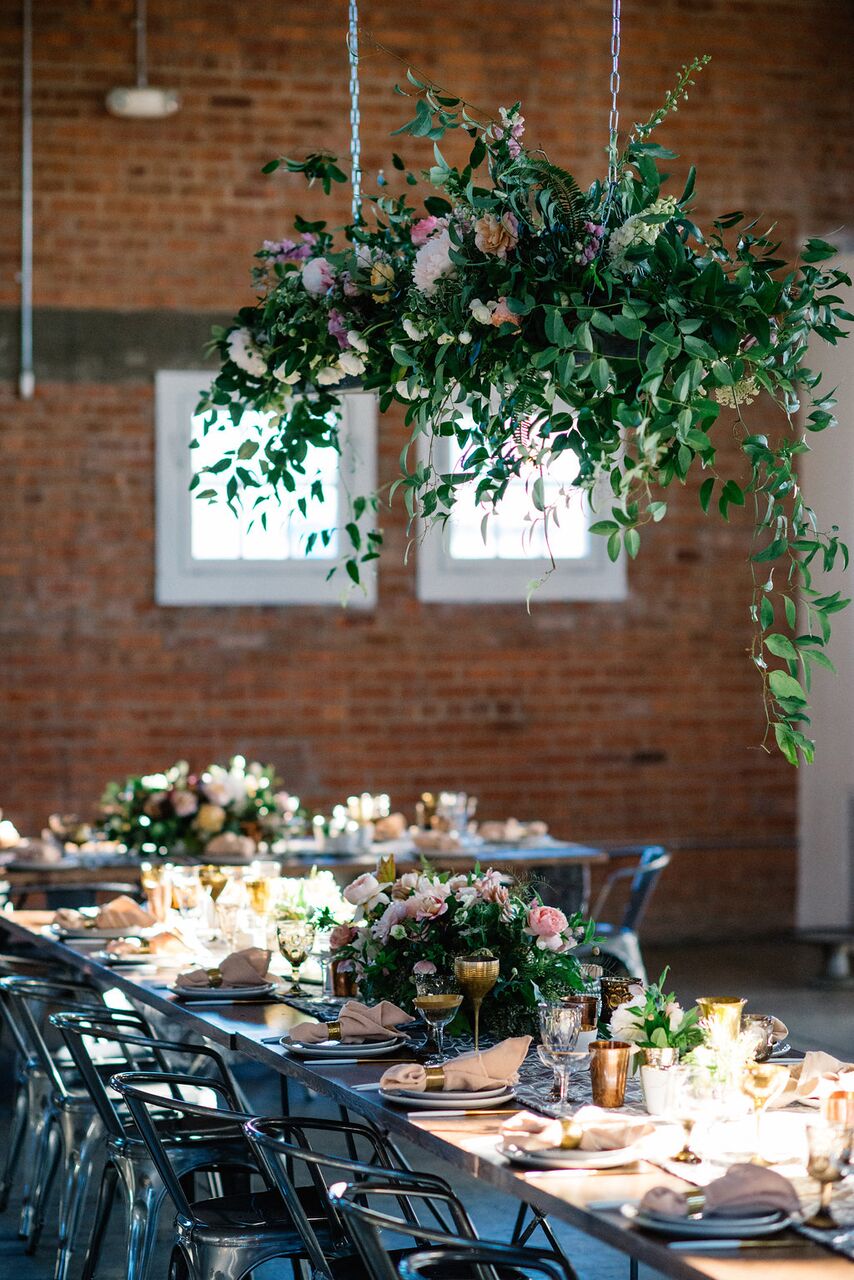
Sustainability and going green are key issues these days, and something as simple as your choice of florist can help make all the difference! There are so many amazing florists out there that we love, and it can be easy enough to pick one that only uses seasonal and locally grown flowers that don't require more transportation and don't add to congestion, pollution, and habitat loss. As a bonus, buying local also helps boost regional and local economies!

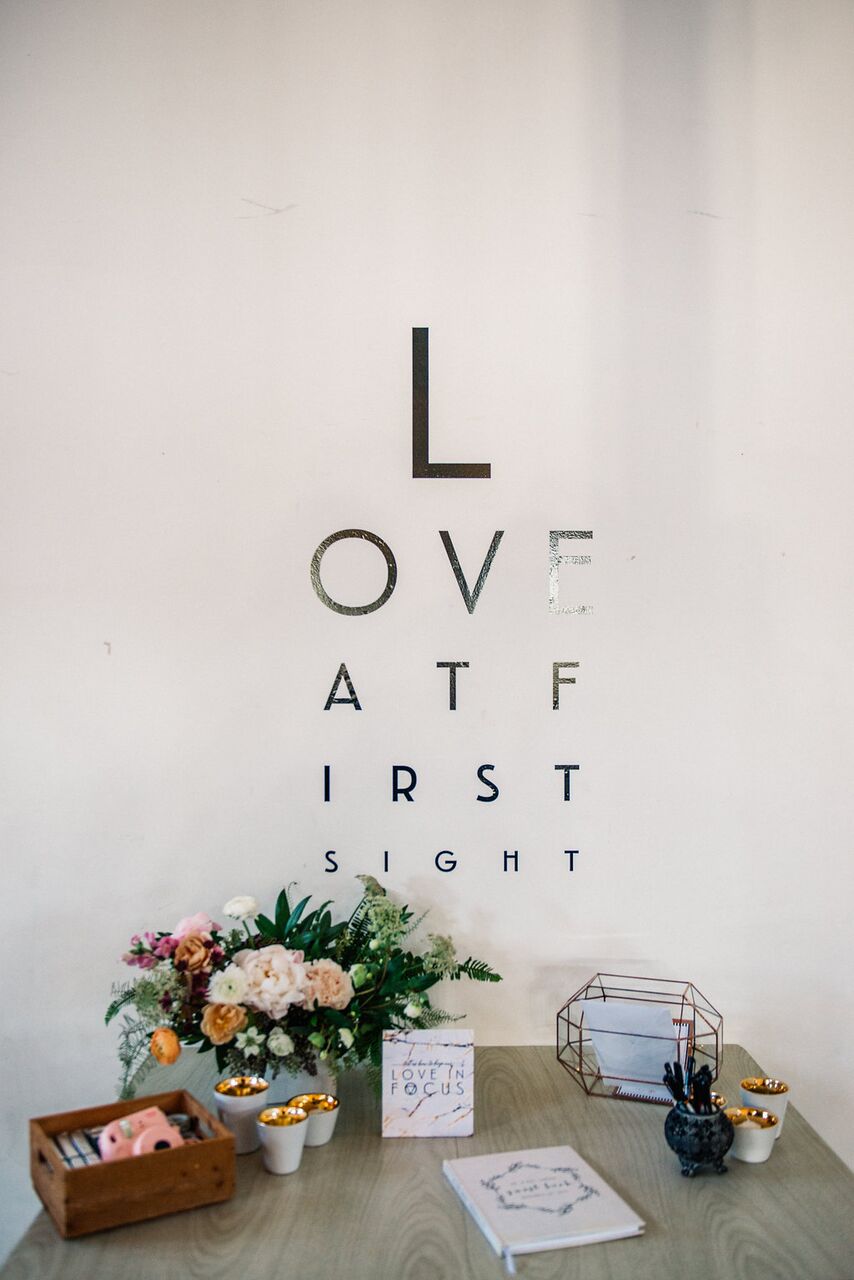
Creating a charitable registry
Weaving charity into your wedding doesn't have to be complicated or costly - a simple and easy way to give back to those in need is to create a charitable registry by asking your friends, family members, and other guests at your wedding to help you support your favorite charity (or charities) by donating through a free fundraising website that allows you to create a personalized page. All you have to do it share the page with guests to collect donations to organizations you and your spouse are passionate about! Another option is to make a donation to a charity on behalf of your guests in lieu of a tangible favor to bring home!

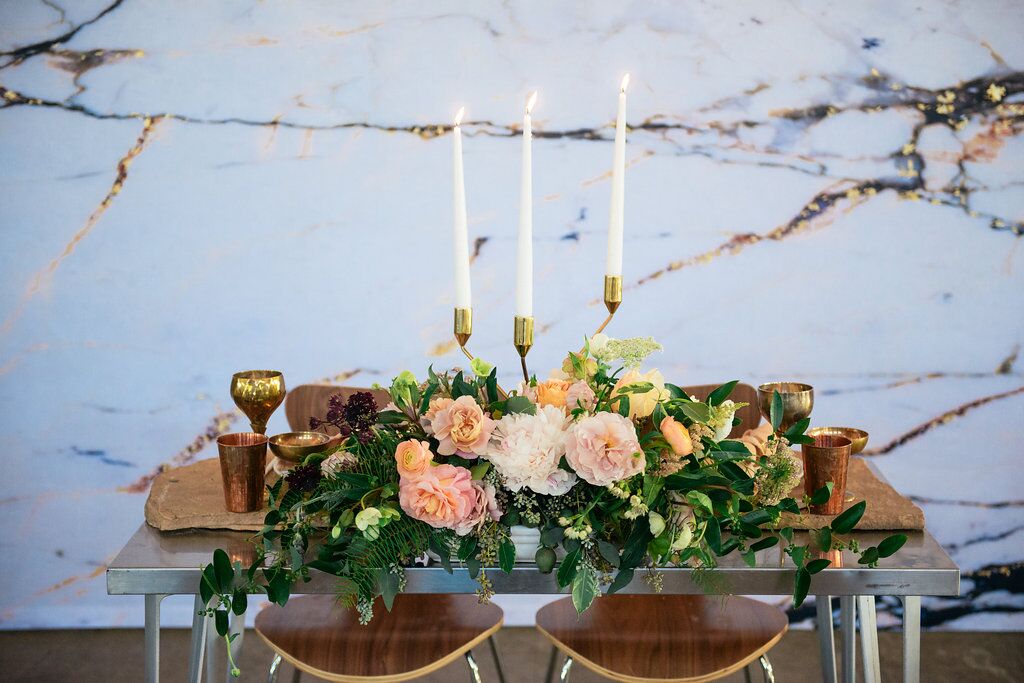
Donate wedding gifts and food
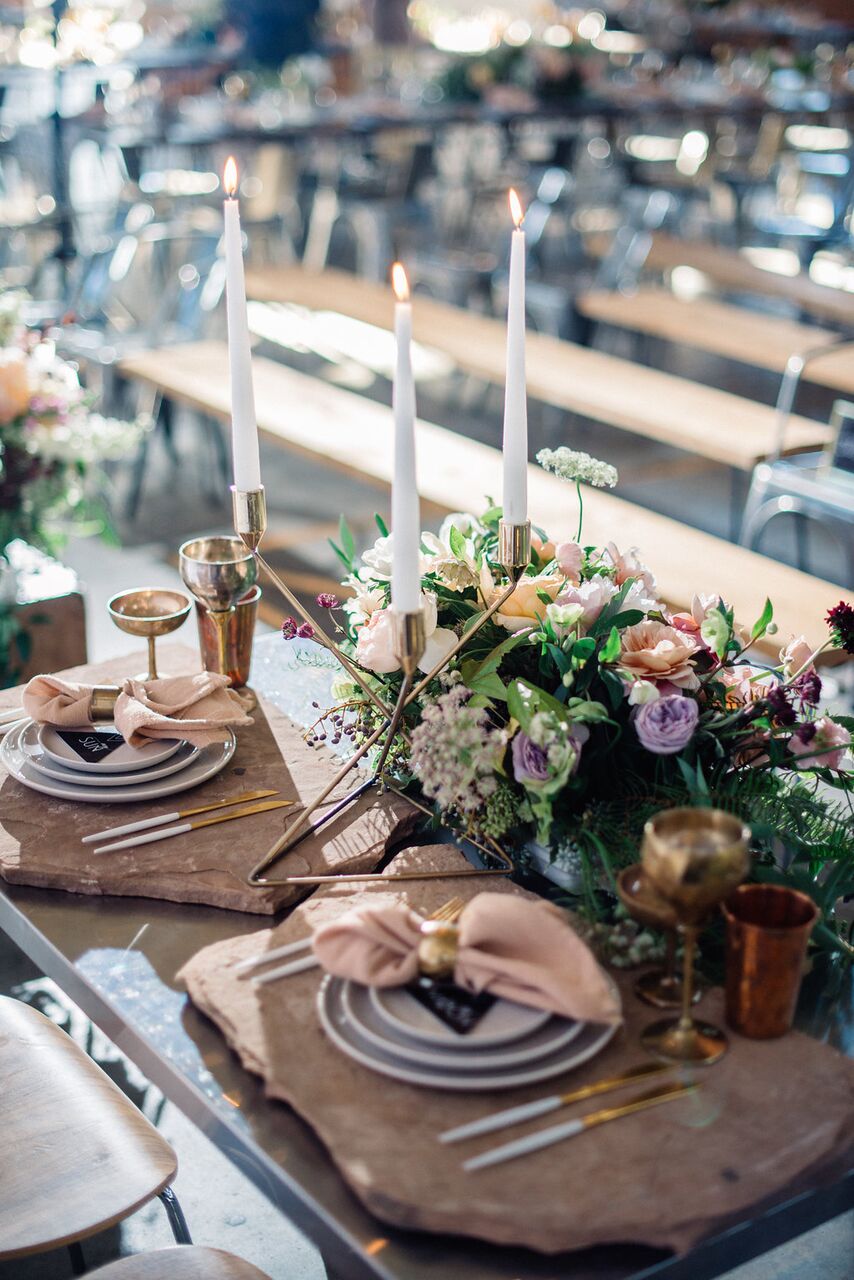
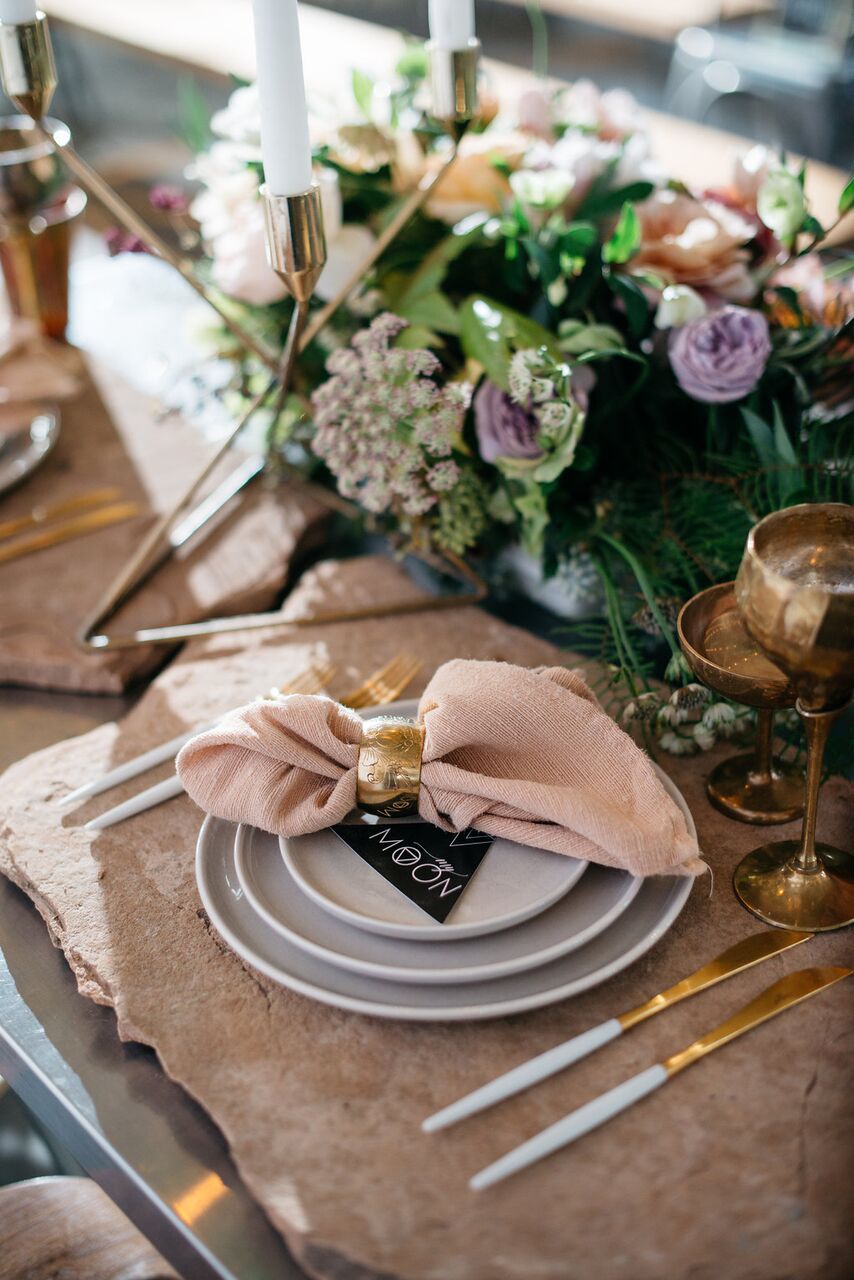
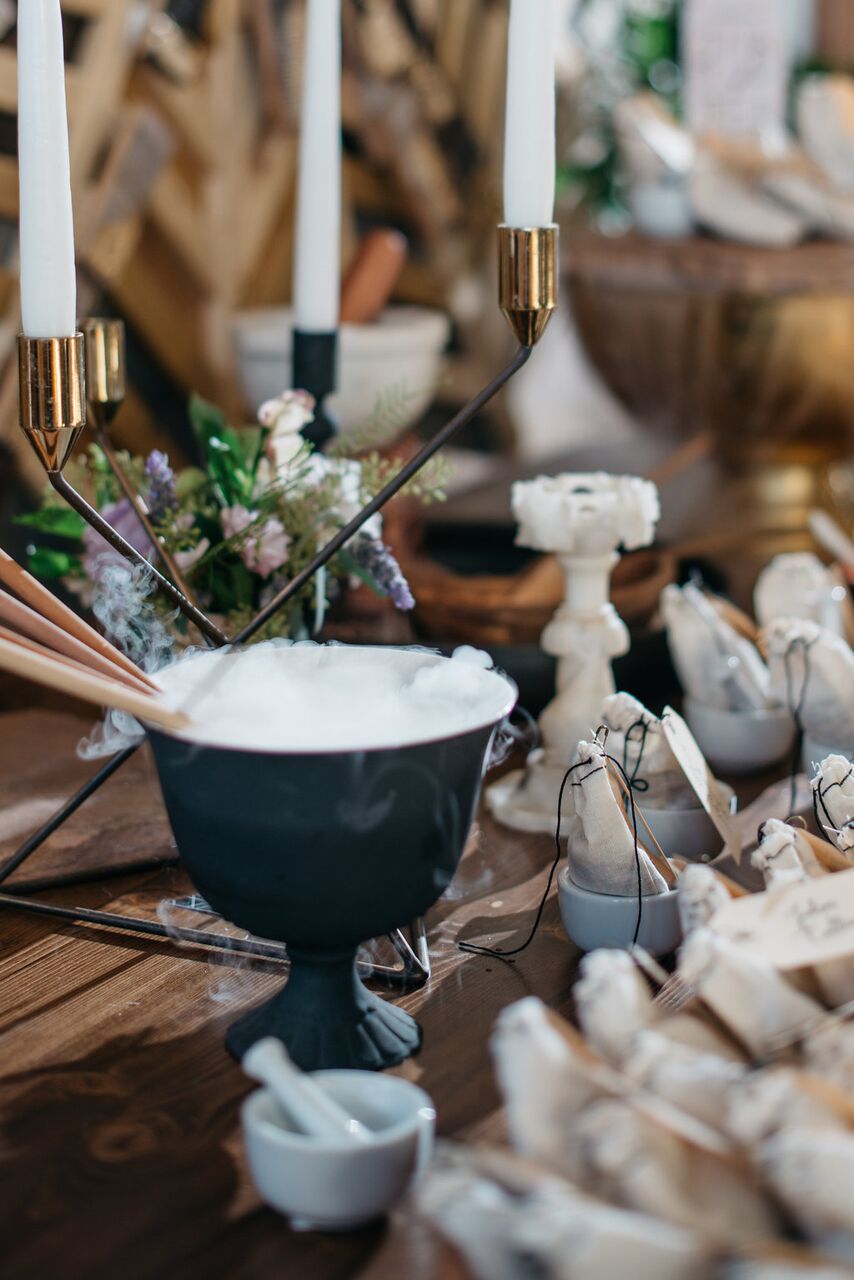
If you do end up wanting a traditional registry but you're still looking for ways to donate, you also have the option to request specific items on your registry with the intention of donating them to a local charity. And if your wedding reception ends up generating extra food, consider donating it to a local food bank in your area so the food doesn't go to waste! There is also always the option of using food in your decor which can later then be donated! We simply love pulling in edible elements to the design!  The seating display we created below shares just one way we have done this in the past as eggs were nested among guest names and table assignments.  The edible options are endless! 

Foregoing traditional bachelorette parties or honeymoons in favor of volunteer trips
Connect with charities and organizations in your area or the region you plan to visit for your honeymoon and find out about projects that will be taking place at the time of your bachelor/bachelorette parties or your honeymoon trip - you can build houses with Habitat for Humanity virtually anywhere across the globe, teach English to children abroad, volunteer at a wildlife reserve in the Serengeti, etc. There are countless volunteer-abroad organizations and so many that don't sacrifice the romantic aspect of a honeymoon or the fun elements of a bachelor trip!

Choose wedding vendors conscious of environmental responsibility
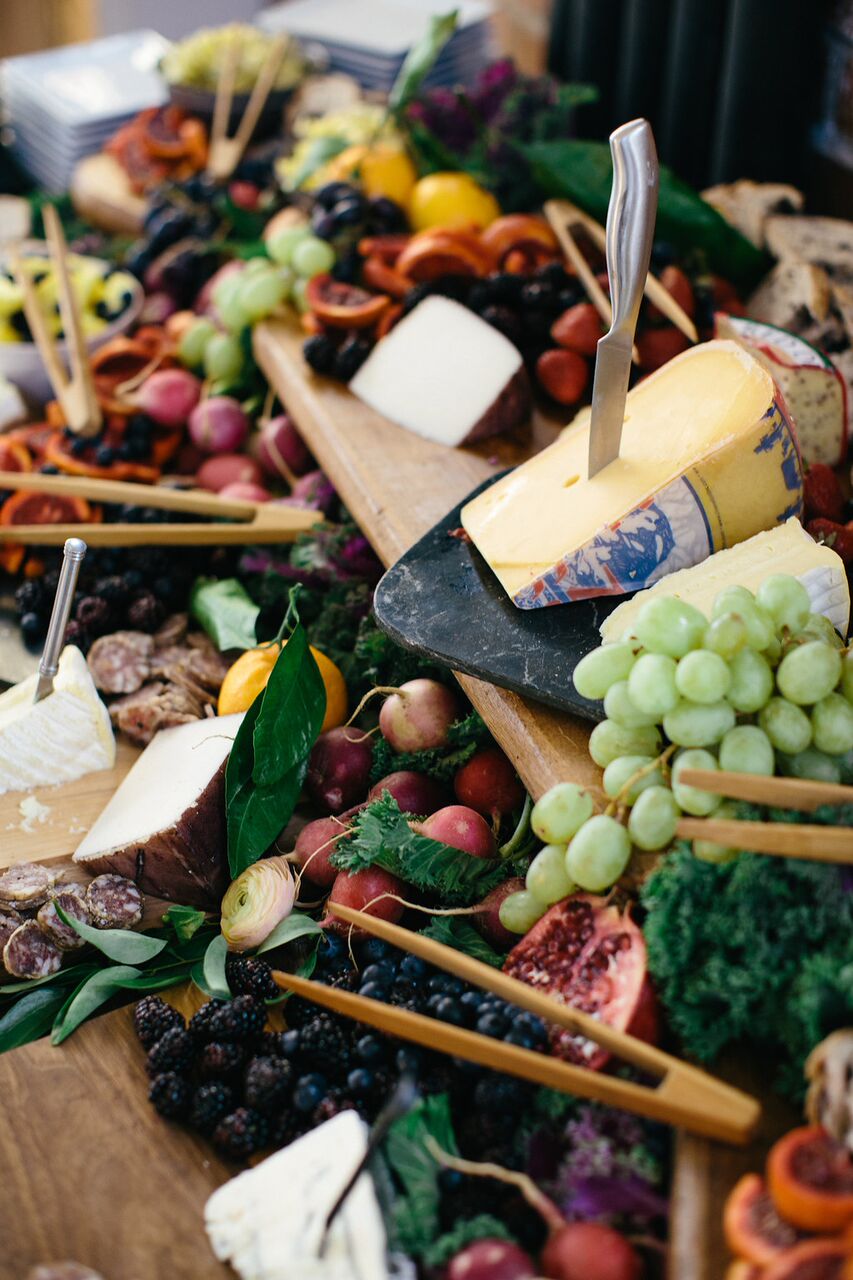
Weddings are such beautiful events filled with fun and festivities, but sometimes events like this can create some unfortunate waste. When choosing vendors, check to see that they're conscious of sustainability and their impact on the environment. Farm-to-table caterers, for example, help cut down on carbon emission and fuel consumption  by limiting the distance your food has to travel before reaching your table (which also means it's fresher!) and also benefit local and regional economies.

Have any more suggestions for our list? Let us know in the comments, we'd love to hear them!

Real Wedding: You Put A Spell On Me

Amorology

It was love at first sight for our beautiful couple Roxana and Marc. She first laid eyes on him at a show his band was playing, and she thought he was the most handsome guy in the world. Nearly 10 years later, he sang to her on their wedding day! 

The whole design was inspired by the movie Practical Magic, which embodied his earthy vibe & her magical spirit. We created a light and airy atmosphere, with a dash of enchantment and painted the space in neutrals and pastels with blush, amethyst, dusty rose, and charcoal grey. A marble backdrop for ceremony quickly transformed the wall into the perfect sweetheart table background. We topped the tables with ceramic grey plates and stone slab table numbers, with a mix of gold metals and smoky glassware. 

To allude to Roxana's love for all things enchanted with some practical magic, we created a whimsical escort display complete with dry ice and a gold-leafed wooden starburst backdrop. Guests were able to create their own bags of fragrant lavender tub tea and left sweet messages for our couple with a photo and a note. 

The ceiling was adorned with hanging floral installations by Sarah at Catalina Neal and a chandelier swathed with greenery. We created our couples very own geometric dance floor with metallic gold vinyl which made the perfect place to dance the night away! Much like their love, this day was filled with magic, joy, and sweet touches we'll remember forever!

unspecified-1.jpg

How To: Setting the Table for Every Occasion

Amorology

The only thing we love more than good food is good food plus a beautiful table, and over the years one of the things we've grown to adore most is creating a beautiful tabletop - whether it's pulling pieces from Hostess Haven, Borrowed Blu or Casa de Perrin, or curating our own custom collection for our clients, the options are endless! We tend to veer a little less traditional, and while there's no one right way to set a table and we love playing with the unexpected, there are some great jumpstart guidelines that we tend to turn to, and we thought we'd share them with you.

General Table Setting Rules:

To start, let’s begin with a few general table setting rules that apply to each type of table setting:

  • Utensils – For starters, utensils are placed in the order in which they are used with the first ones placed on the outside. For example- the salad fork is placed on the outermost edge of the left side before the dinner fork as salads are typically served before the main course!
  • Forks – Usually placed on the left side of the main service plate, with the exception of the dessert fork which can be placed above the plate and the oyster fork which is placed on the right side.
  • Knives – Knives are placed on the right side of the plate, with the cutting blade facing inwards towards the plate. The exception is the butter knife - placed on the butter plate, with the blade pointing downwards and left.
  • Spoons – Spoons are typically placed on the right side of the plate, with the exception of the dessert spoon which is placed directly above the service plate.
  • Water glass - Always the largest of the glasses! Typically placed on the right side of the charger directly above the flatware with the knives pointing toward the stem or the center of the glass.
  • Placement – All utensils should be placed about an inch from the edge of the table and lined up evenly from the bottom ends.
  • Set only what you use – Only set the utensils that will be used throughout the service. If there is no soup, there’s no need to set a soup spoon!

With the basics out of the way, it's time to learn about each type of table setting!

1. Formal

The formal table setting is fitting for weddings, holiday meals, or any occasion when more than three courses will be served. You may also find the formal table setting at high-end restaurants that serve multiple courses. In a formal table setting, the service plate comes with each course, so it's not necessary to include it when setting the table.

Out of all the table settings the formal table setting is the most symmetrical, so the utensil placement is the most important factor as this table setting includes the most utensils. 

The overall result is a well-balanced table setting that's ideal for formal dining!

Formal Table Setting Elements

Center

  • Charger – The charger delineates the space and welcomes the guest to the table. Each course is set on top of the charger, including the salad course, soup course, and meat or fish course. The charger is typically cleared along with the dinner plate. Note: Placement of the charger, if one is included, is the same in all three table setting types!
  • Napkin – The napkin is typically folded and placed on top of the charger before service begins.
  • Menu card – The menu card can be placed on top of the napkin or inserted into the folds of the napkin for a more formal display.

Left-side

  • Salad fork – Salad is the second course that is served, so the salad fork is placed at the outer left edge of the table setting and is usually smaller than the dinner fork.
  • Fish fork – Next to the salad fork is the fish fork. In a formal setting, the fish or seafood course is served after the salad. Traditionally, the shape of the fish fork is designed to optimally lift the flesh away from the bones. In a dinner without a seafood course, the fish fork is used as the second course fork.
  • Dinner fork – The dinner fork is placed to the immediate left of the charger or service plate and is usually the largest of the three forks.

Right-side

  • Soup spoon – In a formal service, soup is the first course that is served and so the soup spoon is placed on the outer edge of the right side.
  • Salad knife – The salad is served after the soup, so the corresponding knife is placed to the left of the soup spoon.
  • Dinner knife – The dinner knife is placed to the immediate right of the service plate, corresponding with the placement of the dinner fork.

Top

  • Butter plate – This plate is placed to the top left corner of the place setting.
  • Butter knife – This is placed on top of the butter plate, pointing left and the blade facing down so that the handle is towards the guest.
  • Dessert teaspoon – Placed above the entrée plate, this is the smallest of the spoons.
  • Dessert fork – Placed beneath the dessert teaspoon, and can be used for the fruit course.
  • White wine glass – The white wine glass is placed closer to the guest, as it is usually served before the red wine — along with the second course.
  • Red wine glass – The red wine glass is larger and taller than the white wine glass.
  • Champagne flute – The champagne flute is placed to the outer right of the glasses, because it accompanies the first toast.
  • Water glass – This glass is the largest of the glasses, and is placed closest to the guest directly above the knives.

2. Informal

The informal table setting is probably the most widely used. It is a great fit for casual weddings, dinner parties, or any occasion that needs a just bit of dressing up without being too formal.

There are fairly subtle differences between the informal table setting and the formal table setting. In an informal setting there are fewer utensils involved and fewer glasses as well, and a butter plate is not always included.

Informal Table Setting Elements:

Center

  • Service plate – The service plate, or entrée plate, is placed on top of the charger (if one is provided), and is usually taken away before the next course.
  • Napkin – The napkin can be folded and placed on top of the plate before service begins, but with an informal setting we like to get creative with the napkins and play around with different folding patterns and placements to add some dynamic to the table!
  • Menu card – Similar to the formal setting, the menu card can be placed on top of the napkin or inserted into the folds of the napkin for a more formal display, but can also be placed next to the charger if desired.

As with the rest of the tabletop, all that's left is to trim down the dessert fork, fish fork, fish knife, and a wine glass to transition the setting from formal to informal. We sometimes like to add a champagne coup as well above the water glass, forming a triangle of sorts between the glasses.

3. Basic

The basic table setting is essentially a simplified version of the informal table setting, with just a few subtle differences. For example, no dessert utensils are included and it may include fewer glasses. The basic table setting is great for daytime brunches, casual dinner parties, or for fancy dinners at home.

Basic Table Setting Elements:

For a basic table setting, trim down the champagne coup, salad knife, and the dessert spoon, and there you have it! A basic table setting for the every-day occasion. :)

Many thanks to FTD for collaborating with us on this and and sharing with us these guideline photos. Cheers to the weekend and to having good conversations over food with friends!